I have a serious love of chandeliers and as a result I have 6 chandeliers around my barely 2000 square ft home. Years ago, my mom started buying them at the flea market in Long Beach and then all the ladies in our family got totally hooked. We all started hanging them in every possible place in our houses, including over the kitchen sink, over the bathroom sinks, on the front porch and in the backyard.
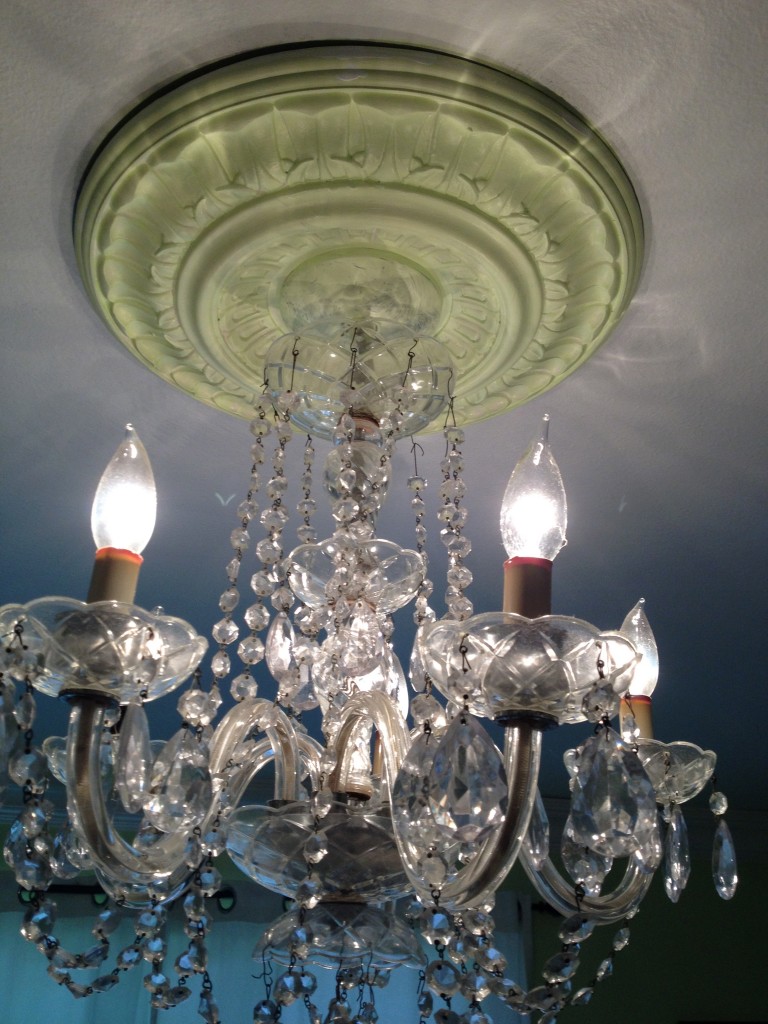
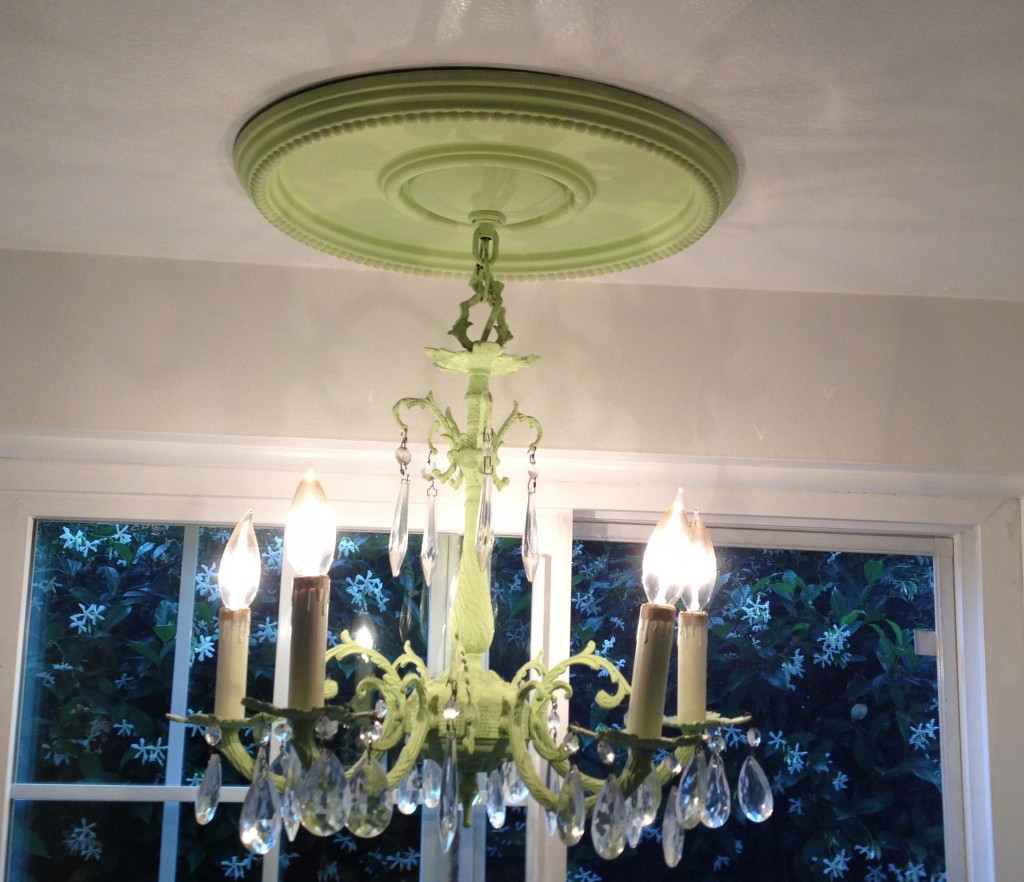
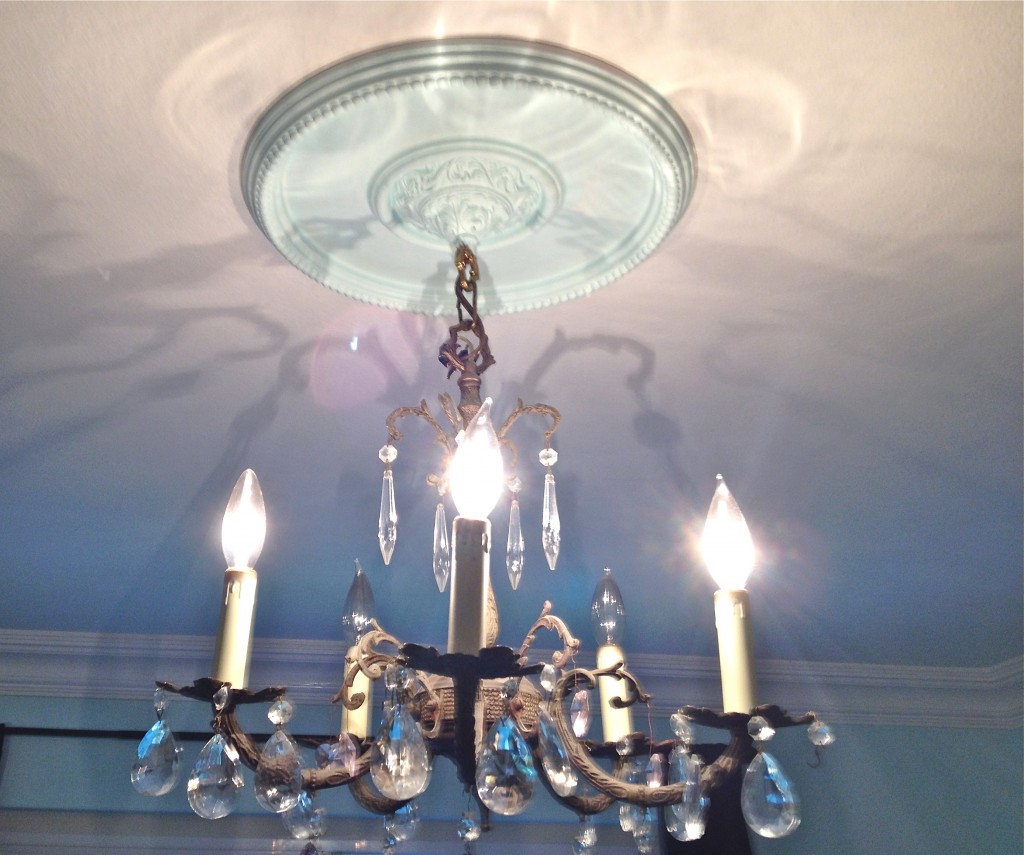
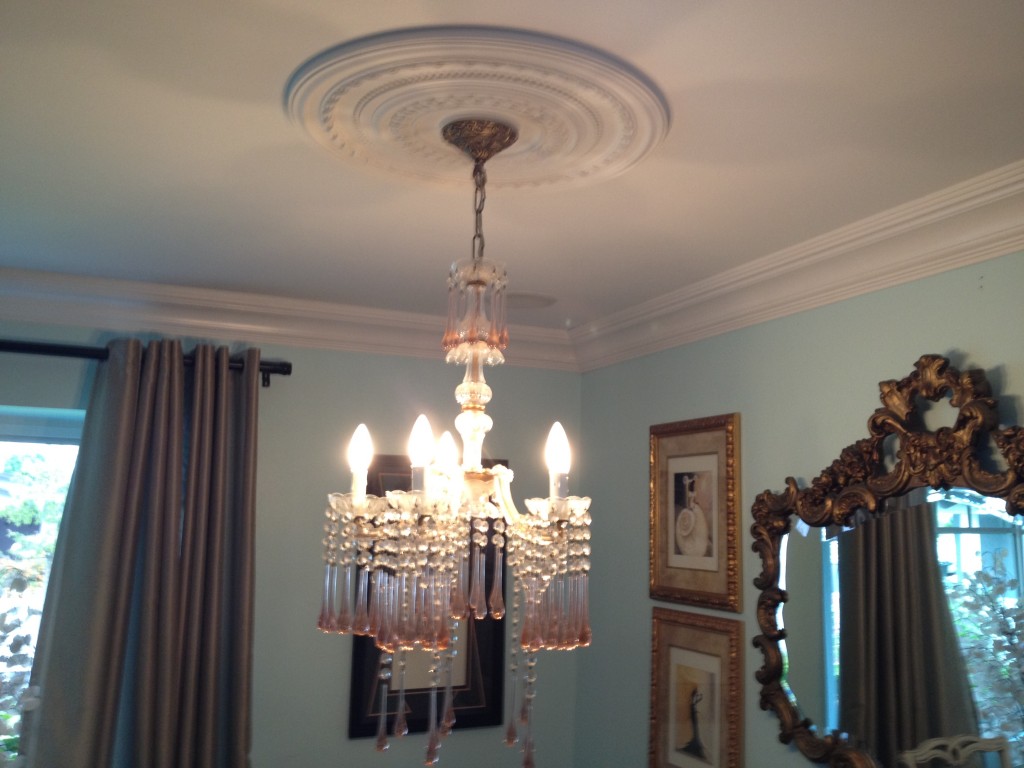
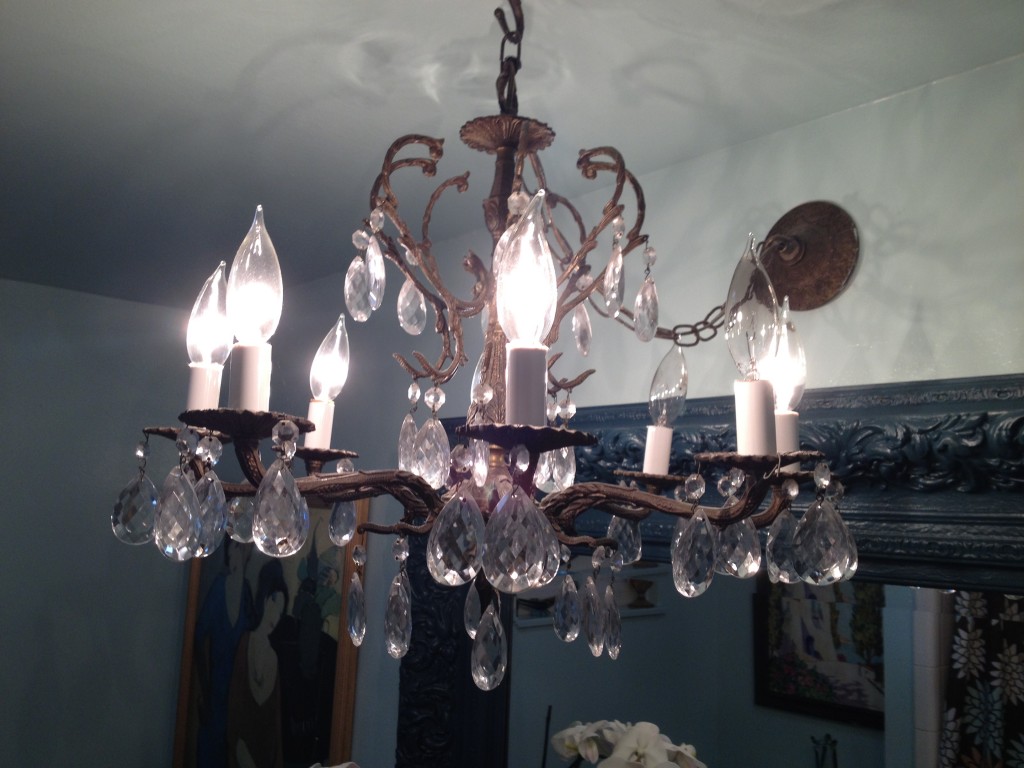
The great thing about them is they are so versatile and you can paint them any color you want and add any color crystals you desire. Well, my mother would never paint her chandeliers but I love to mix it up.
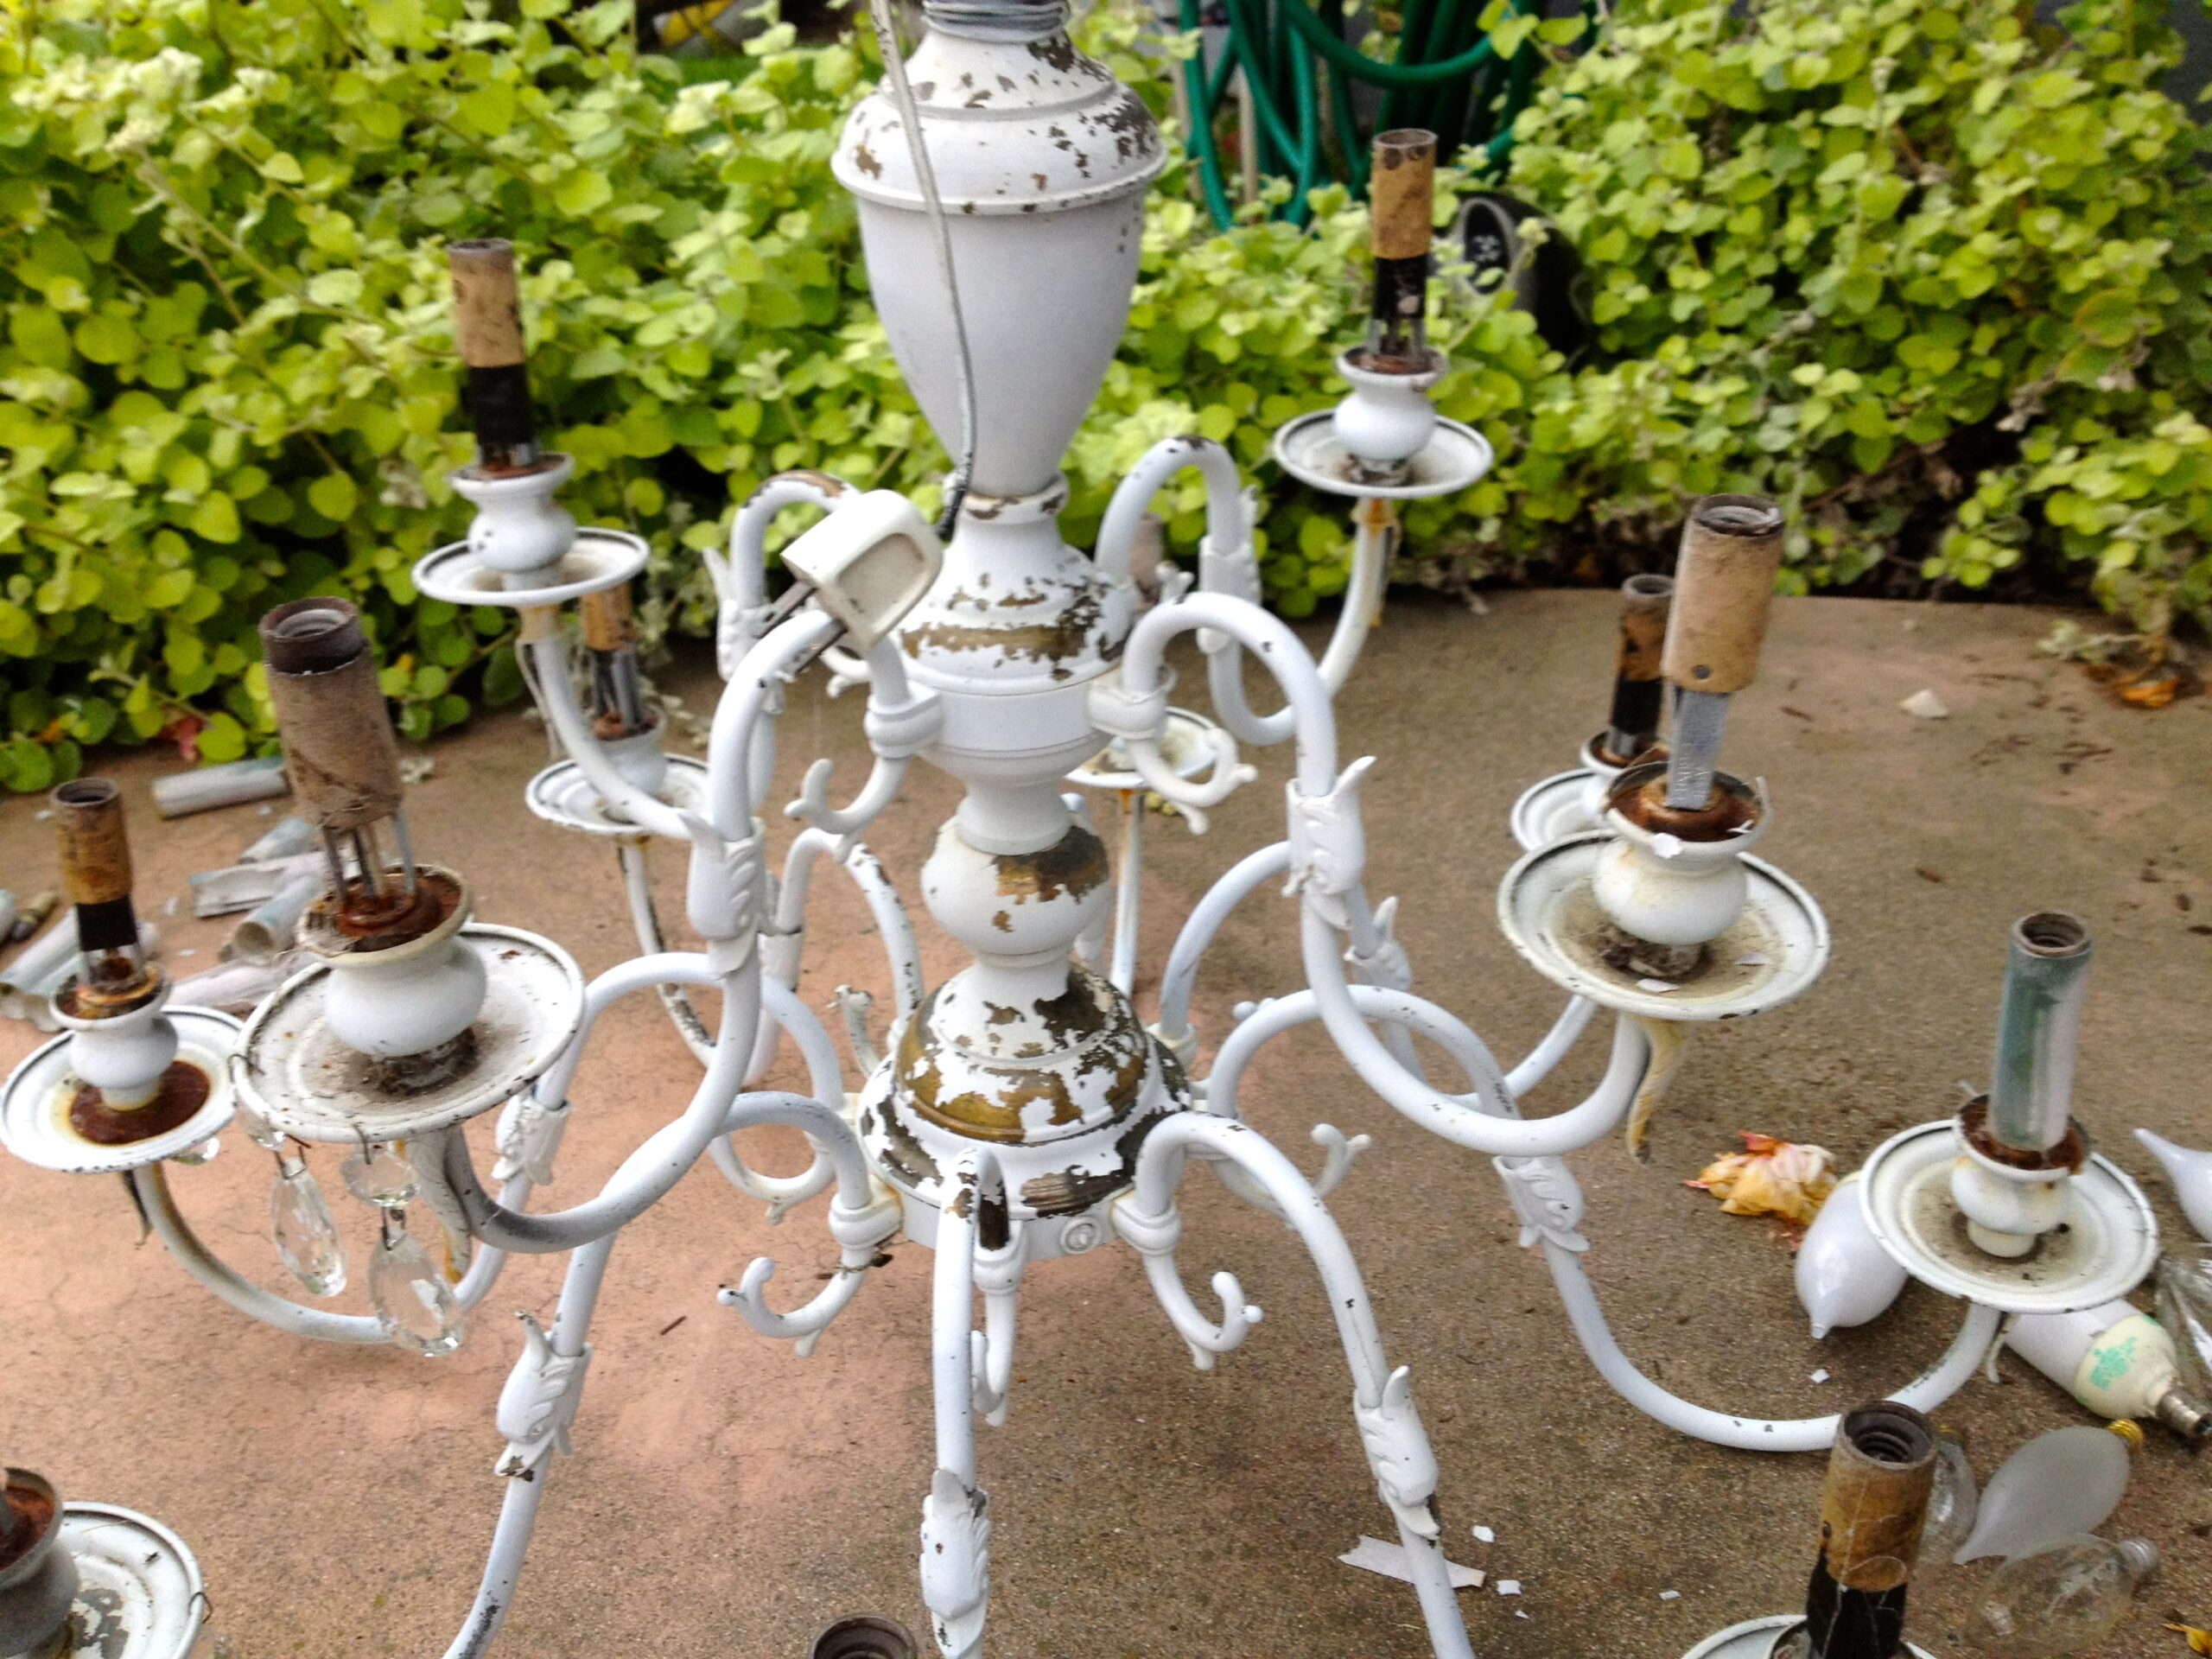
And finally my chandelier over my patio table, which is a mess right now. It has been outside for over 6 years and is in serious need of a new paint job. So in keeping with my outside make-over theme, I decided to share my painting project from today.
In case you want to do the same thing for your patio or front entry this is how it is done.
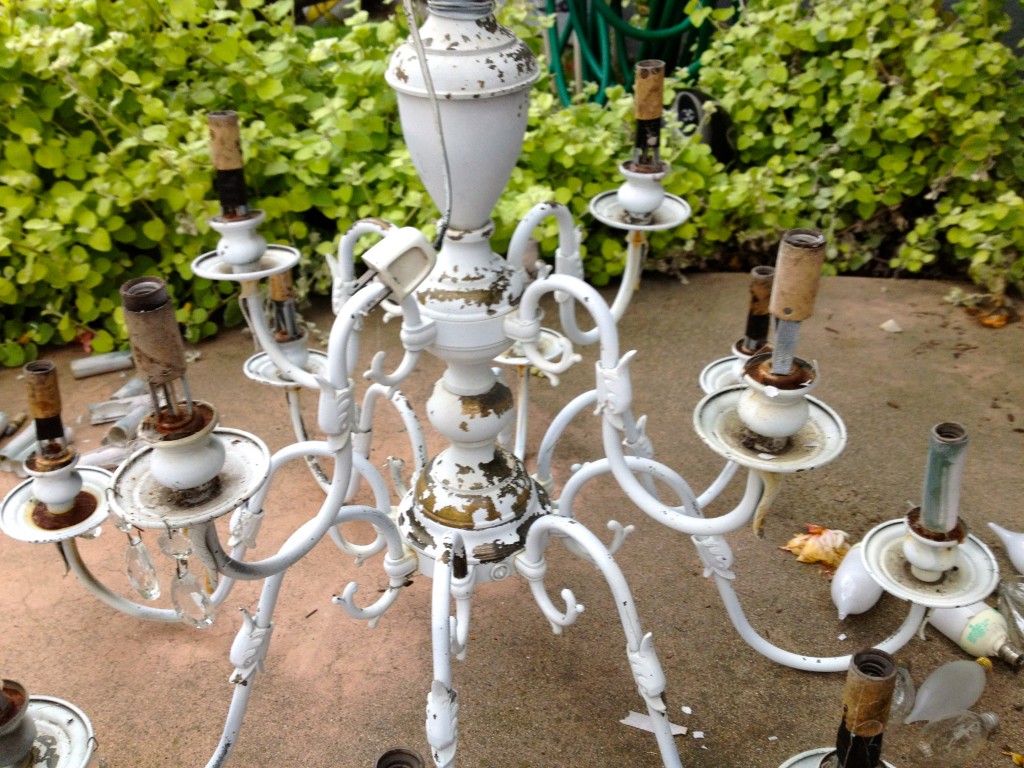
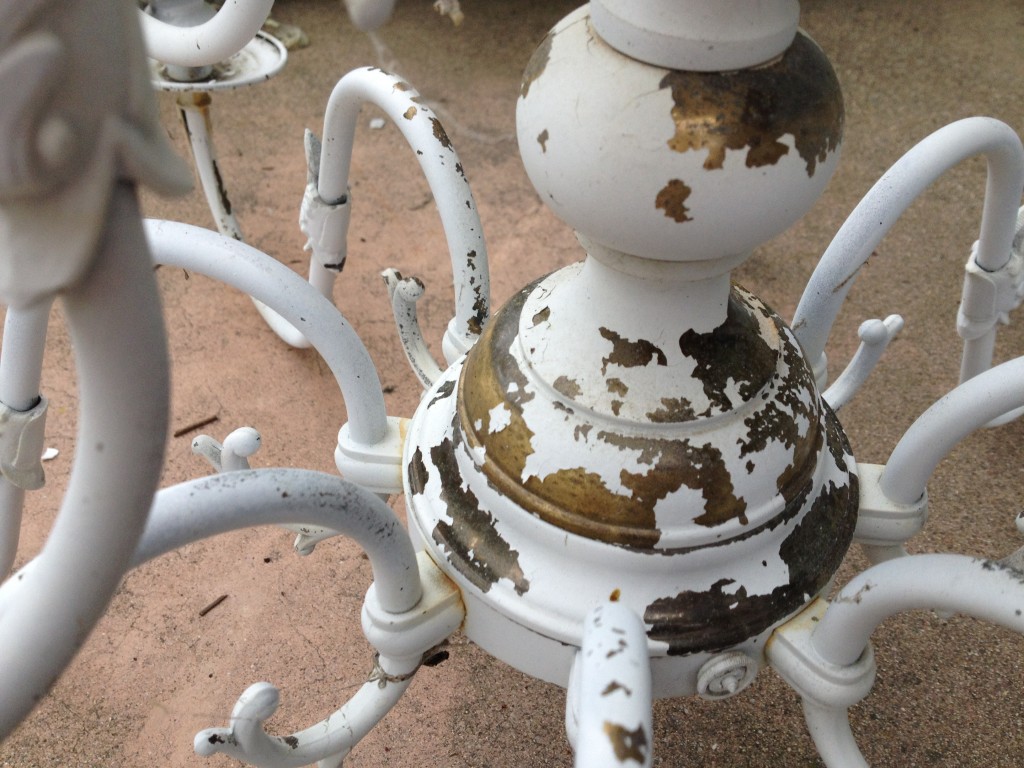
First find an old chandelier that will fit in the space you need it for. If it is an ugly color or the style isn’t perfect don’t worry because once you spray paint it, it will transform instantly. This ugly chandelier was originally brass and it had some weird fish motif that you can’t even see now. Look for them at garage sales, thrift stores or flea markets. You will have to convert the wiring to a plug in, which my electrician did for me but I have seen on DIY shows that they sell kits at the Home Depot and apparently it isn’t that hard. I personally wish I could have made the conversion myself, but I draw the line at electrical work, too risky for this mama.
Take out the bulbs and remove the candlestick covers. They usually slip off really easy. Wipe down and start spray painting. I don’t bother to sand, strip or do anything else except clean it off.
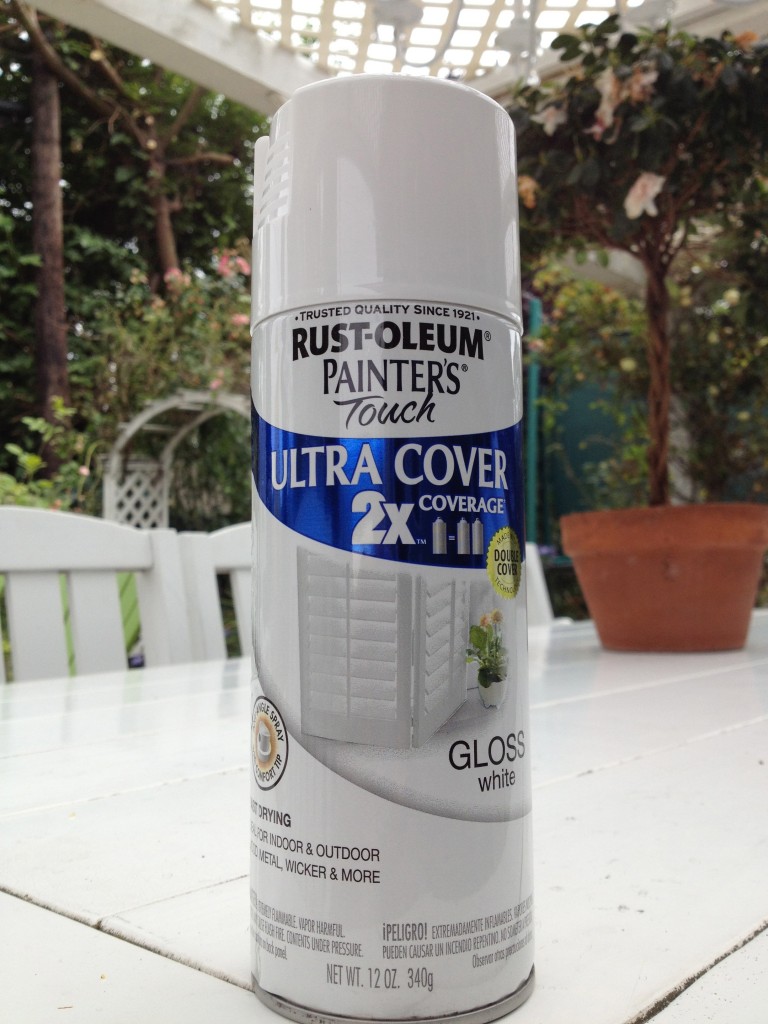
I used this paint and it works really great. I always buy Rust-Oleum because once I bought another kind and it was so horrible, it nearly ruined my project. Today I put the fixture on one of my painting sheets in the backyard and every half hour or so I would turn the fixture different angles and spray any spots I missed. Once I was done, I put on new candlestick covers for each arm, which I bought at the Home Depot and cut to size with a steak knife. Yes, I know. I tried a razor blade, exacto knife and a saw but the only thing that worked was the steak knife. Then I added crystals. I just bent the wire onto any place it would hold and tried to make a uniform pattern.
You can buy crystals at flea markets, antique stores or really cheap online. If you buy new ones online, try to get the ones with silver wire, not gold. The gold looks really cheesy. They will rust pretty quickly if you buy the new ones and it will make them look better. You can also buy colored crystals which I have always wanted to do, but have never wanted to invest the money. Colored crystals are much more expensive and you need pretty many of them to really make a statement, but they are fabulous.
Oh, back to hanging the outdoor chandelier, put a hook where you want to hang the chandelier and then just plug it in. Pretty simple. I have a plug on my wall so I just trailed an extension cord along the wall and then up and over the lattice work and dropped it down to the fixture to plug it in. We leave it off except for when we entertain outside, so then I simply plug it in and viola.
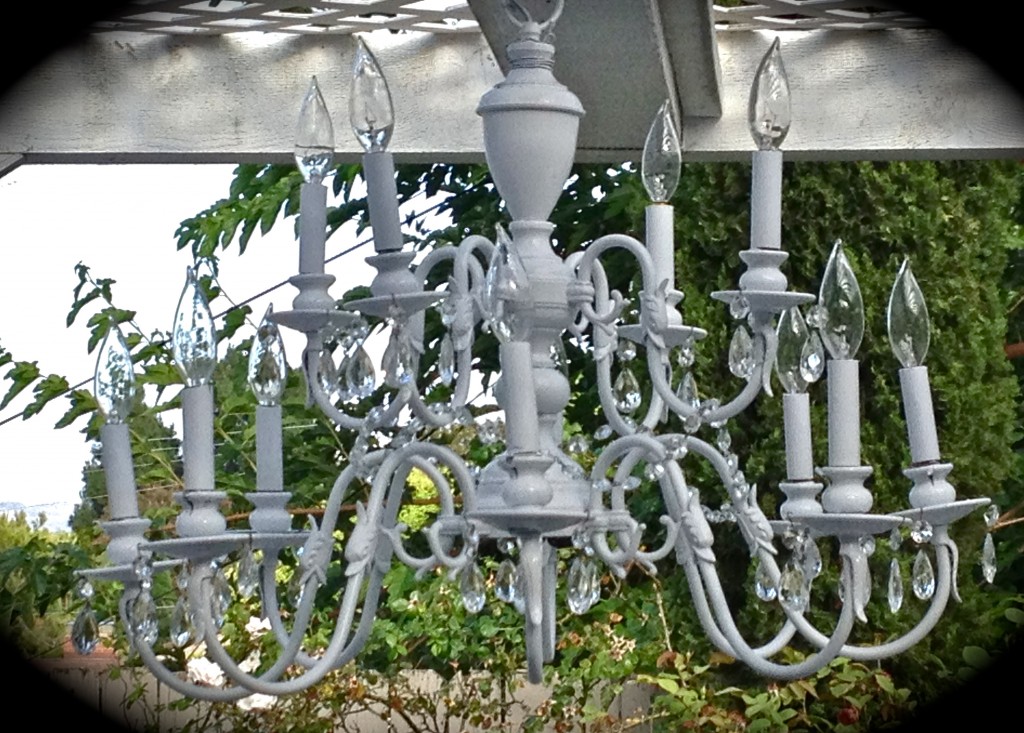
Hope you find a spot for an outdoor chandelier, I know you will really love it.
Happy Thursday…..




Your finished chandelier looks fabulous!!! I love them also but only have one over my kitchen butcher block, will be on the look out for one next time I go to the Alameda Antique Faire!!! I have always wanted one in my bedroom and outside patio, you have a great collection of chandeliers!!
thanks Tammy, you definitely need to have more than one. I love that the one you do have is in the kitchen. Good Luck hunting…..